Wednesday, November 21, 2012

Baby Food Jar Turkeys

Tomorrow is Thanksgiving! Need a cute, easy gift for a little one in your life? Make them a Baby Food Jar Turkey!


Clean out a baby food jar, fill it with a treat and decorate! I used Cheerios because they are brown, yummy, and easy for little ones to eat. I think they would look great with some fall edition M&M's or Reese's Piece's.

I used felt for the head and paper for the face, feathers, and feet. I just cut it all out and used Tacky glue to glue everything on.

Then I wrote Happy and Thanksgiving on paper, punched holes and put the papers on string and wrapped the string around the jar. Then I was done! Easy peasy and a cute gift for kids!


Last night we had our family Thanksgiving dinner and I had everyone write on our Thankful Sign. I love it. And I hope that Elijah treasures it when he is older.


Have a Happy Thanksgiving! -Kristen

Monday, November 19, 2012

Decorated Baby Food Containers and Thankful Sign

Tonight I worked on some Christmas presents. I can't divulge the whole project, but I will share part of it. I decorated baby food containers that I then put something into. The something in them is a Christmas surprise. But I will show you the decorations. It was pretty simple, but there is a tutorial picture for some super easy paper flowers. 

First I cut paper to fit on both sides and the top of the containers. These pieces of paper did get written on with the name of the something that goes in them and directions for it. 


Then I set out making my flowers and glued them on.


To make the flowers you cut out a rough circle shape (or you can make it perfect if you have the time and desire). Then you cut that circle into a spiral. Then you start in the middle of your spiral and wrap the paper around tightly. Let it loosen up a bit and then glue the end to the side of the flower. Then you're done. See, super simple!

The rest of the project will be shared later, along with my tips for how to not mess it up like I did. = )


I also made a Thankful Sign for E's first Thanksgiving. Everyone will be asked to sign their name and write something they are thankful for. 


I traced E's chubby, perfect little hand and made a turkey from it. 


 I can't wait for everyone to sign it!

Sorry the posts haven't been too exciting (and I didn't even post yesterday). I have been quite busy with family being in town and our big dinner coming up. Plus most of what I am making is gifts that can't be posted until after Christmas! I hope you are creating wonderful things of your own!  -Kristen

Saturday, November 17, 2012

Stuffed Monster

For Christmas, I decided I wanted to make Elijah a stuffed monster. So I drew it out, cut it, sewed it, stuffed it, finished sewing it, and took pictures along the way to share with you!

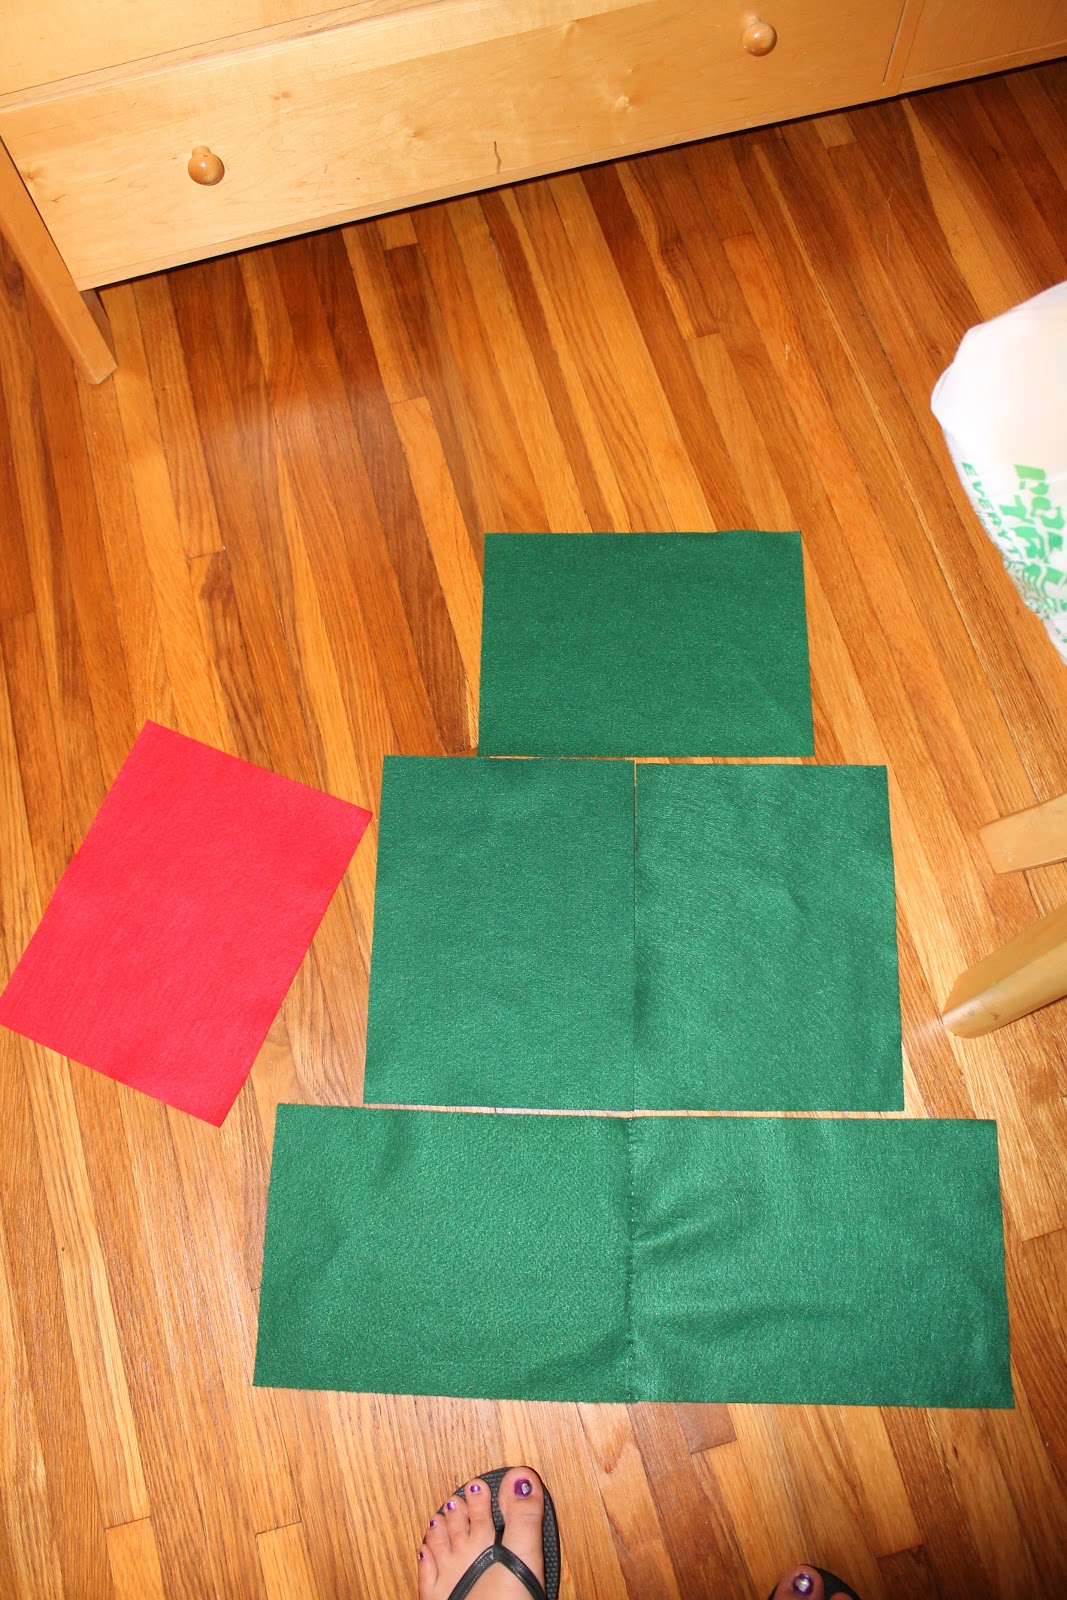
First, I drew out the shape I wanted and cut it out. I have 3 pieces of felt because the green was a bit thin, so I wanted to have another layer of felt under it. If your pieces of fabric aren't thin, you won't need the third piece. I cut out eyes and a mouth for my monster.


I then sewed on the eyes and mouth to the front piece of my monster.
I added an E for Elijah on the back.


Then I sewed him up, all but a spot to stuff him. I sewed him right side out because I wanted the edges to show. I hand-sewed the whole thing. It would be much faster to use a sewing machine, but I like to hand-sew. I find it relaxing. If you like to use your sewing machine, go for it! You will save a lot of time!

I stuffed him with plastic bags. Kind of a fun way to recycle, I think. I cut the bags into smaller pieces so I could maneuver the bags into the spots I wanted. I think I ended up using 6 bags. Using the plastic bags makes him firm, so if you want a squishier stuffed monster, you'll want to use batting or some other soft material for stuffing.


Then I sewed him up the rest of the way. All done!


Here you can see how thick he is.


Such a cute little guy!


Do you have someone in your life who would like a stuffed monster? Get sewing!   -Kristen

Friday, November 16, 2012

Hair Accessory Frame

I'm finding it is hard around this time of year to have a blog. I am making things for family and friends, but of course, if they see my blog, they will see their gifts. And we can't have that, now can we? So, I'm trying to make some things that aren't gifts so that I have some things to post. But who has time for that when I'm busy making gifts?!? I'm trying here, people. I am.


Today, I'm going to give you a tutorial for a frame that holds the felt flower barrettes I posted before.

I took a frame from Dollar Tree (so many things you can get for $1 that you can work with). I added a piece of blue paper to the cardboard part of the frame with scrapbooking squares.


Then I hot glued three pieces of ribbon to the frame. I overlapped the ribbon, and did the gluing on the back of the glass. This made it a bit bulky, ad therefore hard to put on the back once I was finished, but I did manage to get it on there. You may want to try just gluing your ribbon to the front, but I'm not sure how that would look. I made sure to leave the ribbon a bit slack, you don't want it too tight, or you won't be able to get your hair clips on as easily. (This picture was taken later, when I took it apart to take pictures for this blog post.)


I put the whole thing together, added my clips and TADA! A frame for displaying my barrettes. I am using this frame to help save space on a table at craft fairs, but you could use it to display hair accessories in your home. You could even use it to clip important notes to if you use clothespins! Oh, the possibilities.


Okay - Get crafting! -Kristen

Thursday, November 15, 2012

Snowflake Wreath and Popsicle Stick Snowflakes

For Elijah's first birthday, we are having a Winter ONEderland themed party. I am trying to do as much of it DIY as I can. I have made a couple things already.

One is a snowflake wreath (which I plan to also use for our front door for the rest of winter after his party). I bought Dollar Tree snowflake ornaments and hot glued them together and hung it with ribbon. Not hard at all. And SUPER cheap! Could it have looked better? Sure. But I rushed through it, so it is a bit sloppy. You could make yours look much more round.


The other thing I already made is popsicle stick snowflakes. You can see how big they are by comparing them to my foot in the picture. I plan to hang these behind his high chair at the party. I made them by hot gluing popsicle sticks together and painting them white. This project actually turned out to be more tedious than I originally thought. Getting the sticks to lay where you want them as you are gluing, so that they all line up, was more work than I planned for. But I am very glad I spent the time on them. I love them and think they will look great at Elijah's party!


I have plans to make a few more DIY decorations and I'm also making his invites, so there will be more posts about his Winter ONEderland in the next two months.


Go and get crafting! -Kristen

Wednesday, November 14, 2012

Spider Web "wreath" and Felt Christmas Tree

These are two holiday crafts that I have made in the past couple months.
For Halloween I made this "wreath" for our door. I took a dollar store frame, took out the glass and back and painted it. I made a web with yarn. I cut off the "ring" part of some spider rings and glued them to the web. I hung the frame on our door with ribbon. Tada!

For Christmas, I made Elijah a felt Christmas tree that he can decorate.
 I cut the felt and sewed the pieces of the tree together.
I sewed presents to the bottom of the tree (and a trunk) and decorated the ornaments.
All of the ornaments come off and since felt sticks to felt, Elijah can decorate his tree as many times as he'd like. Next year I plan to add some more things to it, since he will be older and will be able to learn to do more things (like button and zip).
The two middle presents on the tree are pockets that hold all of the ornaments when they are not in use.

Felt Flowers

Hi! I have been crafting a lot lately. Sort of a way to stay sane in the midst of the craziness of being a wife, mom, and in-home childcare provider. I have created this blog as a way to show and share some of my art and craft creations. I may eventually start also sharing tutorials, but that is still to be decided.

Recently I have been making a lot of felt flowers. It started with a fall wreath for out front door.


I used pipe insulation to make the wreath shape (much cheaper than an actual wreath form).


Then I wrapped it in strips of white cloth and added my felt flowers.


I loved the felt flowers so much that I decided to make some barrettes with them.


Then I decided to make a LOT of barrettes with them to sell!


I'm not sure how often I'll be posting on here, but I will try to post as often as I can. Hopefully I will keep being creative and will have time to share it with everyone! Have a great day! -Kristen