Monday, January 21, 2013

"Sheet Blanket" Using Back of Blanket as Binding

YEARS ago, before we were married, my husband gave me two pieces of cloth to make a blanket with. He knows how much I love the feel of cool sheets and the warmth and fuzziness of fleece. So he bought me a piece of fleece and a piece of a cottony fabric (I'm not exactly sure what it is made of), thinking I could make a "sheet blanket." Sweet of him, right? Well, those two pieces of fabric got put away and I never did anything with them. Until now. I FINALLY, after probably 5 years, sewed my blanket.


I started out by lining up the two pieces, the smaller one on top in the middle, and cutting the edges of the bigger piece (fleece) down to like 3-4 inches around the smaller blanket. I used the fleece as the blanket's binding by bringing it around to the front.


I then sewed little x's in the blanket to hold the two pieced of fabric together in the middle.


I've never done anything with corners before, so I just kind of winged it. I'm sure there are more precise and probably easier ways of doing what I did, but oh well. I got it done, so that's what matters.


I cut off the corners and folded in the sides until they looked like metered corners. I probably did it WAY wrong, but they turned out okay.


I sewed the two sides together in the middle. This picture is of the first one I did. The others looked a bit better.


For the binding using the fleece, I folded the fleece over twice (so it would have a nice edge) and loosely sewed it down. I did this instead of just pinning it. I used long hand stitches, just to hold the pieces in place. I have never been very good at sewing in a straight line and things usually end up moving, even with pins, so I figured this might help me a bit without the pins getting in the way. It was very time consuming and I think I might just rather deal with the pins next time.


 I then sewed all the way around my blanket using a wide zigzag stitch.


This is the front side of a corner.


The back side of one of the corners.


And so you can see them together, I folded the blanket in half.


So if you want the feel of a sheet with the warmth of a fleece blankie, make a "Sheet Blanket." And to make it simpler, use the back fabric as the binding!  -Kristen

Sunday, January 13, 2013

Valentine's Day Door Hanger

Browsing through Pinterest has made me obsessed with always having a season/holiday-appropriate wreath on my front door. I didn't have anything planned for Valentine's Day, so I whipped something up tonight.


I started  by cutting a heart shape out of thick cardboard (I used a diaper box). I'll probably use the inside heart for some other project.


I would imagine this cardboard technique could be used for other shapes of wreaths, too, as long as you don't plan to hang anything too heavy from it.


I then cut two holes in the top of the shape and tied string to each side.


I then began gluing ribbon to the heart form. I started with the two "points." I folded the edges of the ribbon over the bottom of the points, overlapping them in the back to make the flat on the front. Then I cut a slit in the top part of the ribbon and glued down each side in a way that it laid flat in the front. That probably makes no sense, but I can't think of a better way to explain it.


Hopefully this picture helps.


I then wrapped the rest of the heart in ribbon. Then I made some felt flowers and hot glued them on. Tada. All done!


The felt flowers are made by cutting the felt into circles, cutting the circles in a spiral, and rolling it up pretty tight. Then you hot glue it together.


I think it will look lovely on our door for Valentine's Day. You can see our current snowflake wreath in the background!


While I had the hot glue gun and felt out, I decided to make some felt flower brooches.

Just make your felt flowers, glue a round piece of felt to the bottom of the flower and then hot glue the brooch pin to it.


I don't plan to wear them with my sweatshirt, but I just wanted to take a picture of them on and that is what I happened to be wearing.


I hope you all have been inspired to make a Valentine's Day wreath or door hanger and/or some felt flowers.  -Kristen


Friday, January 4, 2013

Felt Mistletoe and Salt Dough Ornaments

The two things this post is going to cover aren't exactly related, but they were both for Christmas, so, uh, deal with it. = )


I made some felt mistletoe to hang in our entryway. I think it turned out pretty cute.

To make it, I took some dark green felt and cut out mistletoe leaf shapes. I just cut as I went without drawing it out first or making a template. I wanted them all to look a bit different, just like a real plant would. Then I cut out small white circles and glued them to the stems of the mistletoe. I then tied the different pieces of felt mistletoe together with red ribbon and hung it in our entryway.


As gifts for family and friends, I made salt dough ornaments. I decorated them with paint and one with glitter. I made a lot of footprint ornaments since it was E's first Christmas. I also did footprint ornaments for the parents of the babies I watch (it was their first Christmas, too).


I used a recipe for salt dough that I found online. I made two separate batches. The first batch looked great, but I couldn't really get it to dry. I had them for about 3 months drying out and they were dry by Christmas. The second batch bubbled up terribly when I heated them to try to speed up the drying process. I am not sure what caused my problems, but I'm hoping the next time I try, I won't run into the same issues. And I hope whatever recipe you use works for you. I'm not going to share one because it wasn't mine to begin with and it didn't work out very well, but you can find lots of different recipes online. Despite all of my problems, I still think they mostly turned out alright.


The rectangle ornaments have snowflakes painted on them.


So sorry this picture is sideways. The onesie ornament says E's name and birthday. The heart ornament with two birds and an egg in a nest says Parents-to-be 2011, which is an ornament I made for us for last year's Christmas.


To do the glitter ornament, I used the method I described in THIS blog post.


Have a great day! -Kristen


Thursday, January 3, 2013

Winter ONEderland

Well, E's first birthday has come and gone. We now have a little toddler taking steps around our house. His birthday party was a fabulous Winter ONEderland. I tried to DIY as much as possible. I think it turned out pretty great. And E had a blast with his family and friends, so no matter how it looked, I know I did a good job because he had fun! Just a warning, this is going to be a pretty long post, so bear with me.


First, we'll start with his invites. I bought wintery paper and silver envelopes. I hand-painted snowflakes on the envelopes and "Elijah is turning ONE!" I also added some 3D snowflake stickers that I found at Target.

I wrote a little song for his invitation to the tune of "Winter Wonderland." It said ...
"In December there will be a birthday
For a very special little boy
We'll enjoy hot chocolate with Elijah
Who brings us all a great amount of joy

Later on, we'll eat cupcakes
He'll get icing on his face
We'll face unafraid the mess that he'll make
Join us in a Winter ONEderland"


Outside the entrance to the party space, I put some homemade ice marbles.


To make these, you simply fill balloons with water (and food coloring for the colored ones) and freeze. Then you cut off the balloon and place your ice marbles on display! In order for them to be good and solid, make sure to keep them in your freezer for two or more full days.


On the doors to the building, I hung a homemade snowflake wreath 
(which I touched on in THIS blog post) and a sign I made and printed at home. 


We decorated the 
doors to the party space with 
balloons and twisted streamers. 
The gift table was 
decorated with balloons 
and the wall behind it was 
decorated with twisted streamers. 


On the gift table, I also had a picture frame for all of the guests to sign. I will be putting a picture from the party in it soon (hopefully).


Behind the food table I hung a photo banner.


 To make the photo banner, I first painted 12 clothespins white. Then I hung the photos (one of E as a newborn and one from each month 1-11) on white yarn. Then we hung the banner on the wall. 


Each month I took a photo shoot with a sign I made. I changed out the number each month to reflect how old he was. Each photo in this banner has a picture with his sign, other than his newborn photo. 

To make the sign, I used scrapbooking letters on card stock and I cut out the numbers for each month from white card stock. 


Also on the food table was a snowflake and a cardboard 1 that I made.


To make the cardboard 1's (which we also used as centerpieces for the guest tables), cut out 1 shapes from cardboard, cut out a small, thin rectangle piece for each 1 you are making. Then cut a slit in the 1 and slide the small rectangle piece into the slit. The small piece serves to balance the cardboard 1. I chose to paint all of the 1's white to go with the Winter theme, but you could paint them whatever color you choose or cover them in pretty paper to go with your party theme. If you are going to paint - use spray paint. It will save you SO much time. I used acrylic and had to do 3 or 4 coats to cover the writing on the cardboard!


We had hot chocolate and marshmallows, bottled water, and cupcakes.


The cupcakes were made and decorated by my fabulous chef husband (thanks, Kendall).


I did make the white chocolate snowflakes myself, though.

To make these, I melted white chocolate and put it in a squirt bottle (you can get one at Walmart for less than $1). I "drew" them onto parchment paper and then put a sprinkle in the middle. Once they dried, they came right off the paper. Of course, they are fragile! I made these a day ahead of time and stored them (with wax paper between layers to prevent any potential sticking) in the freezer.


 Behind E's high chair, I hung the popsicle stick snowflakes that I made months ago and talked about in THIS blog post.


We decorated the base of his high chair with a drop cloth (in case smashed cupcake made its way to the floor) and taped some balloons to the drop cloth.


On E's high chair I put a name banner. I cut the blue paper into the same sized rectangles. I printed the letters and snowflakes (which are on each side of his name, but you can't see them) from Microsoft Word. I cut them out and glued them to the blue rectangles. I punched a hole in the top corners of each rectangle and threaded a piece a white yarn through the holes. The banner was then taped to the high chair.


And of course I have to include a cake smash photo of my cute little one year old. He really enjoyed that cupcake! To the point where he was licking it off his sleeves and everything!


Here is a picture of E wearing the tie shirt that I made and talked about in THIS blog post. He looked adorable in it, even once it was covered with hot chocolate and cupcake.


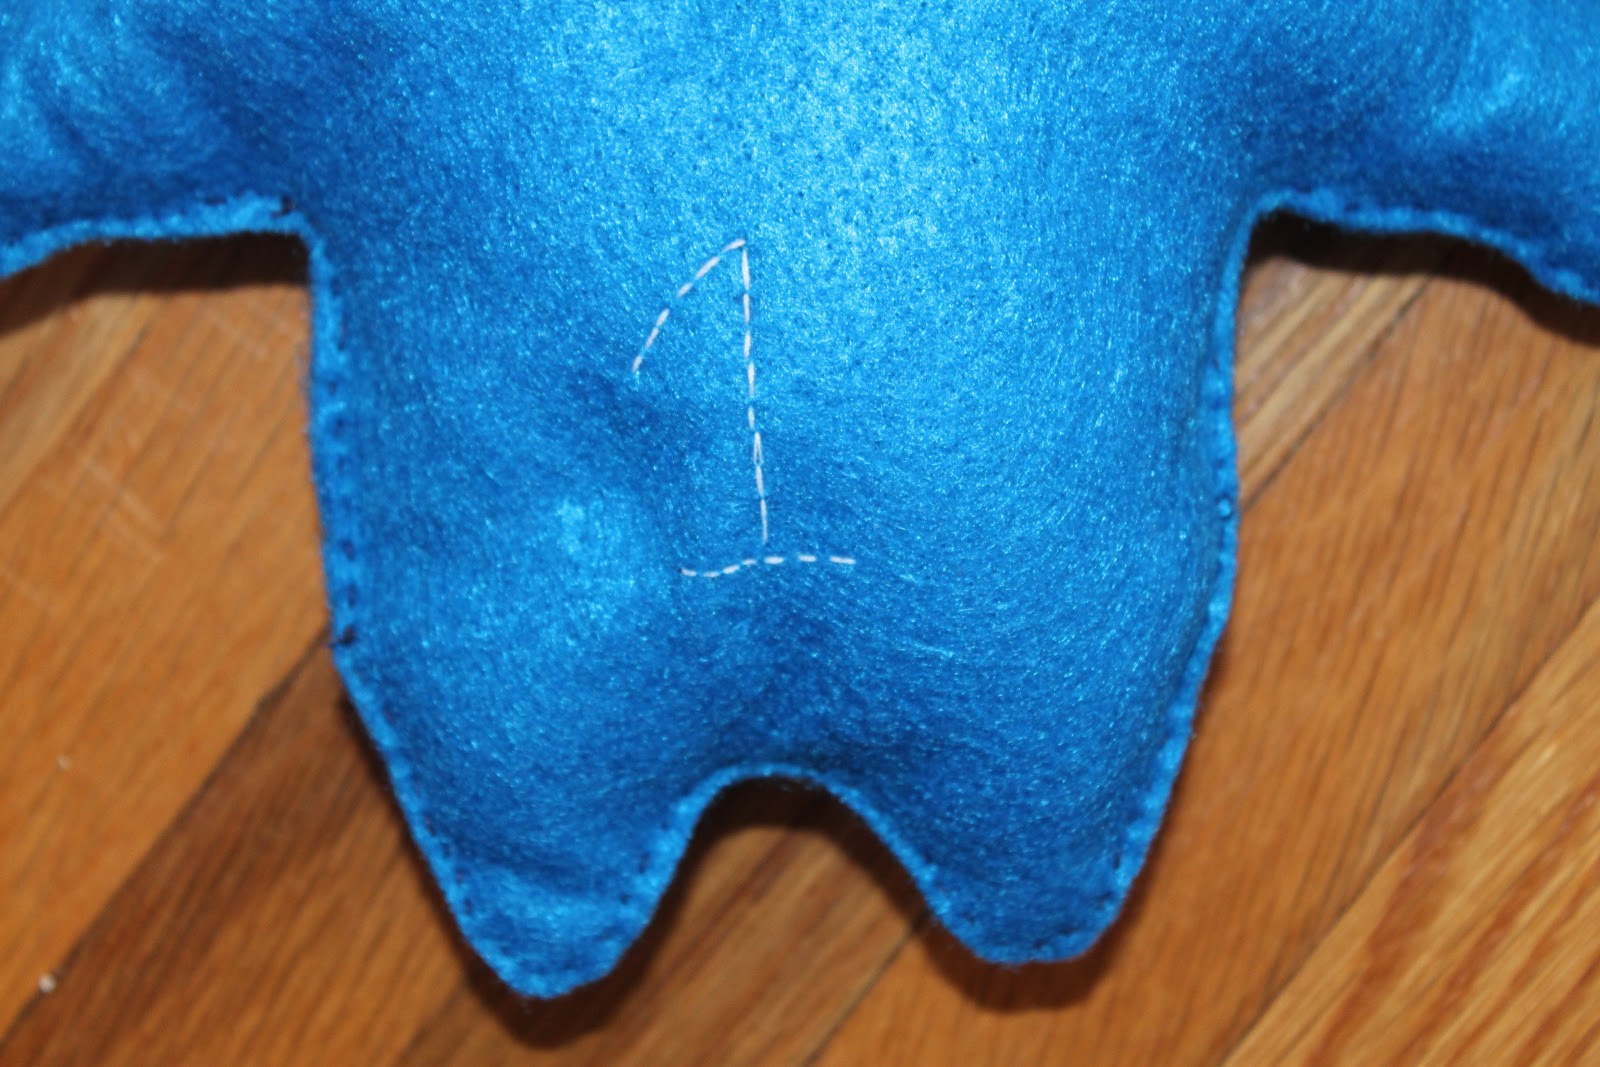
And finally, I'll include some pictures of the stuffed monster I made for him.

This monster was made using the same method as the other stuffed monster I made for him and talked about in THIS blog post.


And I made sure to put a 1 on the back so we always remember when I gave him this monster.


I would like to give a shout out to all those who helped decorate and celebrate with us! We had a wonderful time and we are so blessed to have all of you in our lives! Thank you!  -Kristen

Tuesday, January 1, 2013

Felt Animal Ornaments


For Christmas I made a lot of felt animal ornaments. It all started with an owl.


First I gathered different colored felt, coordinating thread, and plastic bags. I drew out a template and cut it out. Then I cut out the felt to match my template.


I sewed on the eyes first.


I added some details to the owl with thread (the feathers on the belly). Then I sewed together the rest of the front of the owl.


Then I sewed a piece of ribbon onto the back piece of the owl.


Then I sewed the two pieces together, leaving a hole in the bottom for stuffing it.


Then I stuffed the owl with cut up plastic bags and sewed the hole shut. Then I had a cute little ornament for a friend who loves owls.


I used this same method to make lots of
ornaments for family and friends.


Use your imagination and create all kinds of different animals or objects for people you know!  -Kristen